How To Do Headshots At Home : Professional Style [Easily]
In today’s competitive job market, it’s crucial to stand out. One way to make an excellent first impression is through a polished headshot on your resume and social media profiles.
But with financial constraints in mind, how can you get a top-tier photo without splurging on a professional photographer?
We’ve got you covered with tips on how to achieve this right at home. You can also try our free linkedin headline generator to take your profile to the next level.
How to do Headshots at Home?
To take professional-quality headshots at home, select a room with abundant natural light, use a simple background like a plain off-white or pastel-colored wall, and set up proper lighting.
Use a DSLR or advanced smartphone camera, choose the right camera lens, and pay attention to posing and expression.
Post-processing can further enhance the quality of the headshot.

The cost of headshots in studios is quite high sometimes and not everyone can afford them. Picking your home as your spot for a headshot can you a lot of money.
Creating a home studio might sound daunting, but with a bit of preparation, anyone can achieve professional photos that look amazing.
From selecting the right location and setting up the lighting to post-production, every step is crucial.
Read the rest of the article for an in-depth look at each stage of the process.
Step 1: Setting up the Perfect Space at Home
How can you set up an ideal space for headshots at home?
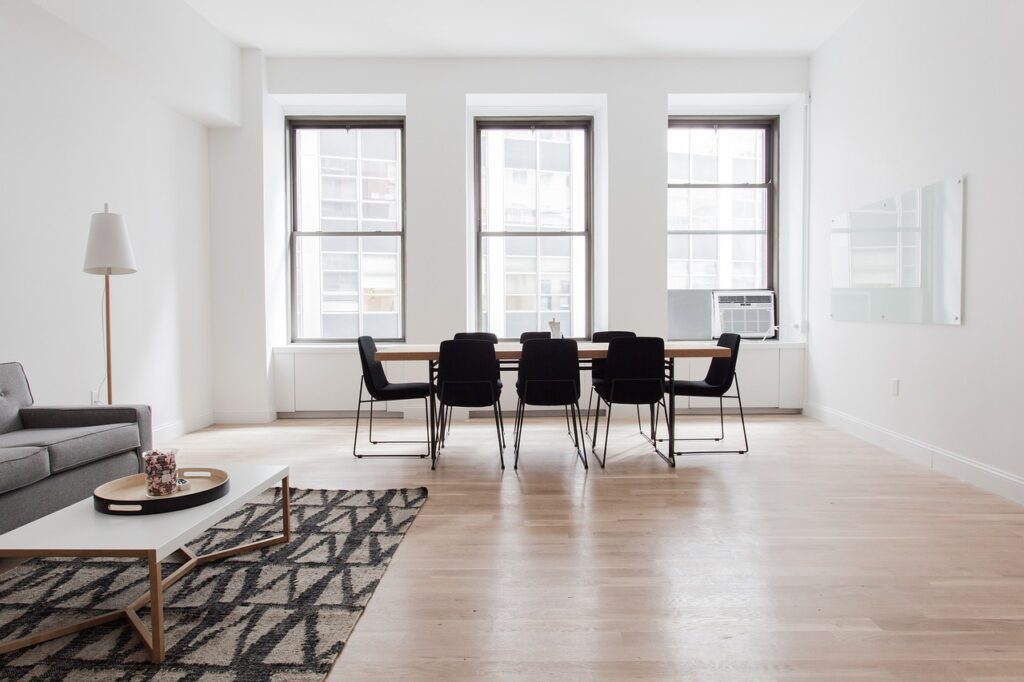
A perfect space for headshots at home requires selecting a room with ample natural light to eliminate harsh shadows and provide a neutral tone.
The background should be simple, preferably plain off-white, grey, or pastel-colored walls.
This ensures the primary focus remains on the subject.

You can get great headshots right from your home – you don’t need a fancy studio. You will need to set it up correctly, but with some time and effort, you can get awesome shots done without spending $1,000.
Choosing the Right Room:
Find a room with a lot of natural light instead of artificial light, this eliminates harsh shadows and gives the photo a more neutral tone.
Backgrounds:
Don’t stand against a heavily decorated wall, solid colored wall or bookshelf. When it comes to headshots, simple is better. Plain off-white, grey, or pastel-colored walls work best. You want the focus to remain on you.
Step 2: Camera and Lens Selection
Which camera and lens are best for headshots at home?
For the best headshots at home, the Canon EOS R or the Sony A7III cameras paired with prime lenses between 85mm to 135mm are highly recommended.
These lenses reduce distortion and offer a flattering perspective.
You can totally take headshots with an iPhone or Android, but if you want the best results, a DSLR will definitely achieve that. Consider renting one for the day for $25-$50 if you can.
Lens:
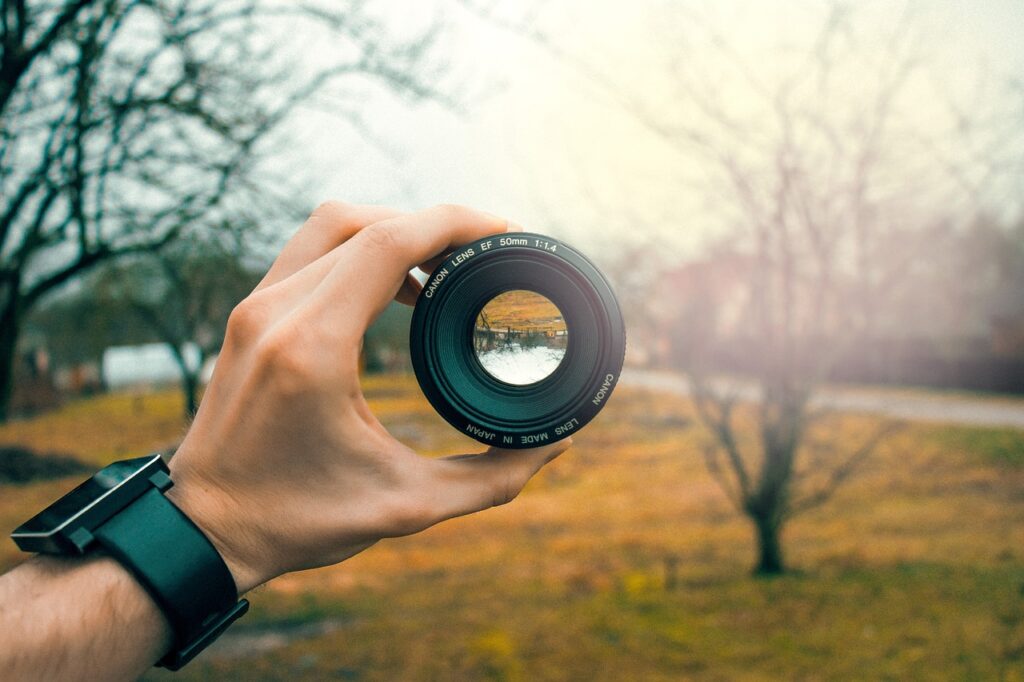
For headshots, prime lenses (those that don’t zoom) between 85mm to 135mm are ideal. They reduce distortion and give a flattering perspective.
Aperture:
This refers to the opening in the lens that lets in light. A lens with a wide aperture (f/2.8 or f/4) will generate the blur the background effect that you’ve likely seen before.
Step 3: Setup Proper Lighting
Why is lighting crucial for professional-quality headshots?
Lighting plays a pivotal role in producing high-quality headshots.
Proper lighting eliminates unwanted shadows, adds depth, and ensures the subject is well-illuminated, resulting in a more professional and flattering photo.
Julian explains here the importance of lighting in headshots.
Natural Lighting is the most important factor in generating your new headshots. Bad lighting will cause you frustration and make your photos look unprofessional.

Natural Light:
Shooting during the golden hour, either early morning or late afternoon, provides a warm, diffused light.
Position yourself such that the light falls onto your face, not behind you.
Artificial Lighting:
If natural light isn’t an option, buy or rent a good quality softbox or LED panels.
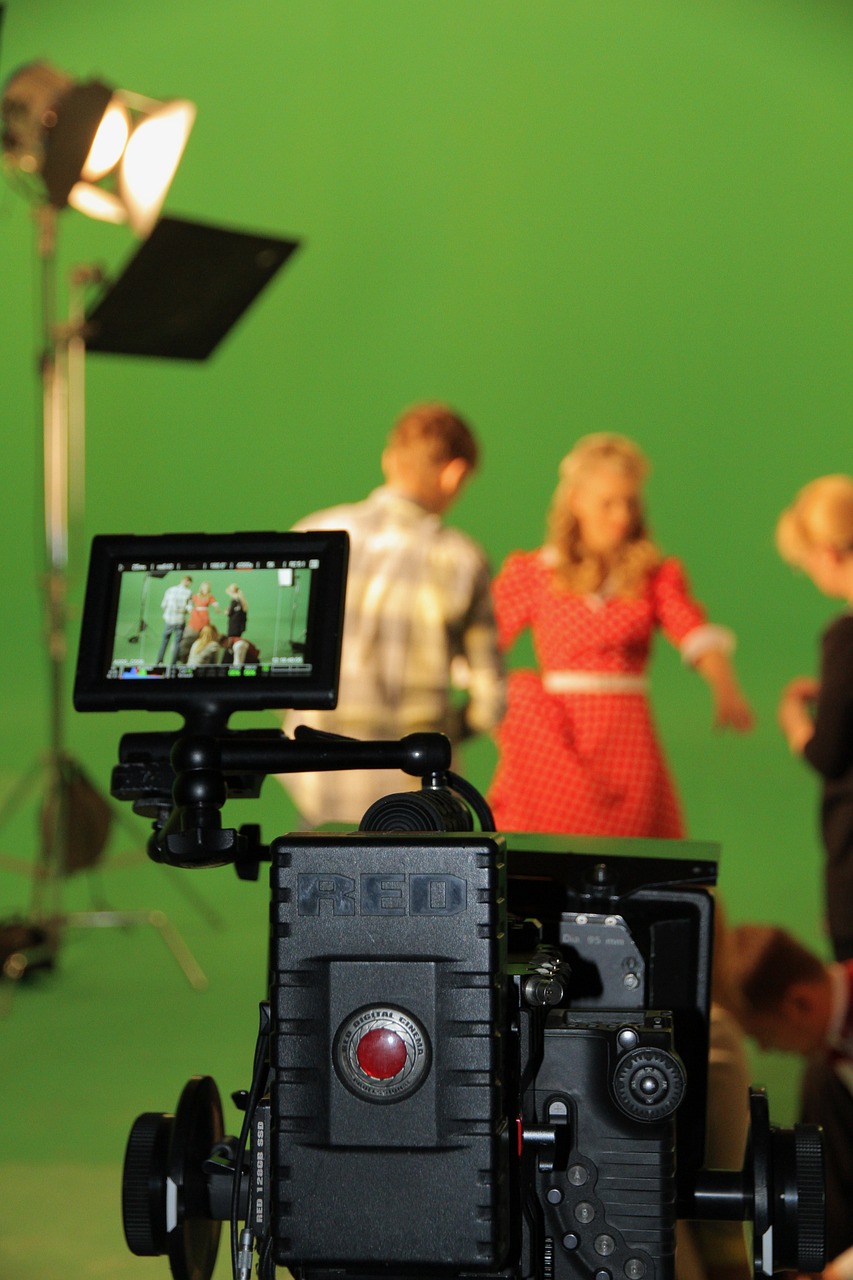
You will likely need 3 to get the ideal lighting setup – a key light (main light), a fill light (eliminates shadows), and a backlight (adds depth).
Reflectors:
If you want to go all-out, you can and should get some reflectors to diffuse the light so it’s not so focused & harsh on your face.
Step 4: Posing and Expression

How should you pose and what expression is ideal for a headshot?
For headshots, it’s essential to appear confident and approachable.
A slight tilt of the head or turning of the shoulders adds dynamism, while a genuine, slight smile, achieved by thinking of happy memories or practicing in front of a mirror, is the go-to expression for most headshots.
Angles Matter:
The straight-on shot is a classic, but a slight tilt of the head or turning of your shoulders can add a welcome element to the overall photo. Try headshots from different angles until
Facial Expression:
The key is to look approachable and confident. A forced smile is easily noticeable.
Think of something that genuinely makes you happy or practice in front of a mirror. A slight smile is the most common headshot style.
If you want more info on posing, you should take a look at this ProPhotos article.
Step 5: Post-Processing: Enhancing the Quality
How can post-processing enhance your headshot?
Post-processing involves editing your headshot using software to adjust exposure, contrast, sharpness, and retouching imperfections.
This step can elevate a ‘good’ headshot to ‘stellar’, ensuring your photo looks professional and polished.
After capturing your headshot, the journey isn’t over. Enter the magic of post-processing. This step can elevate your headshot from ‘good’ to ‘stellar’.
It can also help with any imperfections in the photo. Touching up the photo a little bit can help bring it all together.
Software Selection:
Adobe Photoshop and Lightroom are industry standards. However, for beginners, software like GIMP or Canva can be a good starting point, and they’re free.
Basic Edits:
Start by adjusting the exposure, ensuring your face is neither too bright nor too dark. Enhance contrast to make the image pop and adjust sharpness to ensure clarity.
Retouching:
Subtlety is key. While it might be tempting to smooth out every wrinkle or blemish, doing so can strip away your authenticity.
Try to enhance, not alter. Remove any stray hairs, minor skin blemishes, or under-eye circles, but keep it natural.
Cropping:
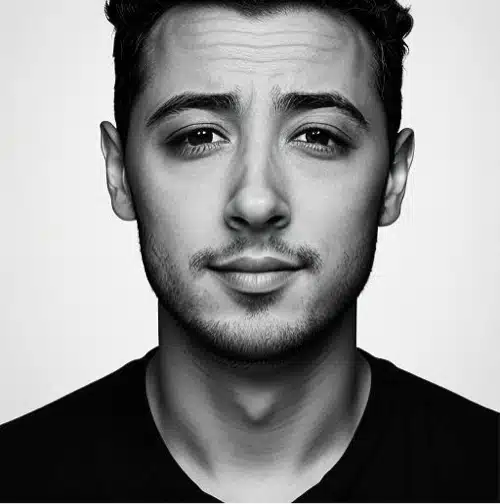
For a headshot, the focus should be primarily on your face and maybe a bit of your shoulders. Make sure your eyes are about one-third from the top of the frame.
Bonus Tips: For a polished DIY professional headshot, position yourself in flattering direct sunlight, set your camera settings thoughtfully, and make use of the self-timer feature while showcasing your own professional headshot for inspiration.
It’s a recipe for a standout self-captured image.
After following all the tips to take a professional headshot via professional camera at home, If you are still not satisfied with the results and you aren’t having a positive impression about it, you can use some photo editing apps to enhance it further.
Common Headshots Mistakes and How to Avoid Them
Frequent errors in DIY headshots include using excessive makeup, wearing distracting jewelry, and choosing overly decorative backgrounds.
It’s best to stick to neutral makeup tones, minimalistic jewelry, and simple backgrounds for effective and professional headshots.
Too Much Makeup:
Makeup can enhance your features, but overdoing it can backfire. Stick to neutral tones and avoid heavy glitter or gloss and color.
Distracting Jewelry:
Oversized necklaces or flashy earrings can be a distraction in a headshot, Stick to minimal, classic pieces.
Here are some more mistakes a lot of beginners make and learn how you can avoid them.
Video Credits: YouTube.com/ Pete Coco Photography
Frequently Asked Questions
When is the best time of day for natural light headshots?
The optimal time for natural light headshots is during the golden hour, which occurs early in the morning or late in the afternoon.
This period offers a soft, diffused glow that flatters facial features and minimizes harsh shadows.
If you aren’t a fan of soft light, you must arrange a photo shoot session with your headshot photographer during early morning or in the evening.
How often should one update their headshot?
It’s recommended to update your headshot every 2-3 years or when there’s a noticeable change in appearance.
Regular updates ensure that your image stays current and accurately represents your personal or professional brand.
Can smartphones produce professional-quality headshots?
While modern smartphones are equipped with advanced cameras that can produce high-quality images, DSLRs or mirrorless cameras typically provide superior results for headshots.
However, in the right conditions and with attention to detail, smartphones can serve as a viable option in a pinch.

