The Importance of Lighting in Professional Headshots: Tips for Capturing the Perfect Shot
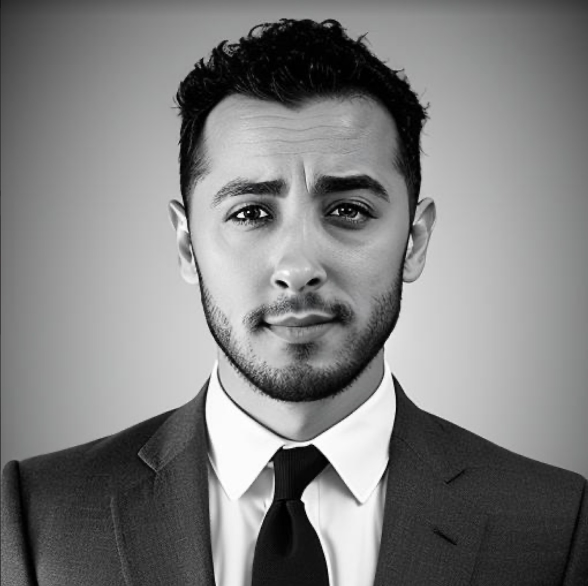
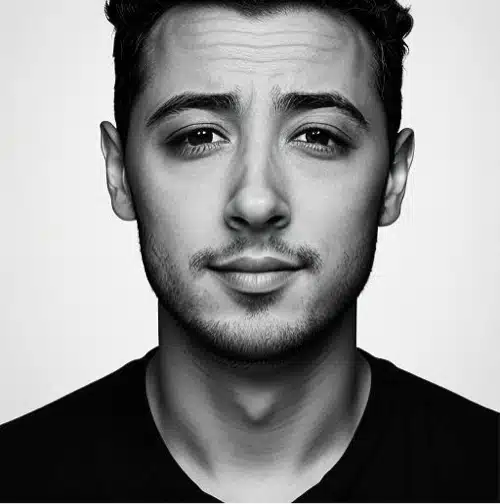
A stunning professional headshot can make all the difference when it comes to corporate headshots or a LinkedIn profile picture. But what’s the secret behind those flawless shots?
The answer lies in mastering the art of lighting.
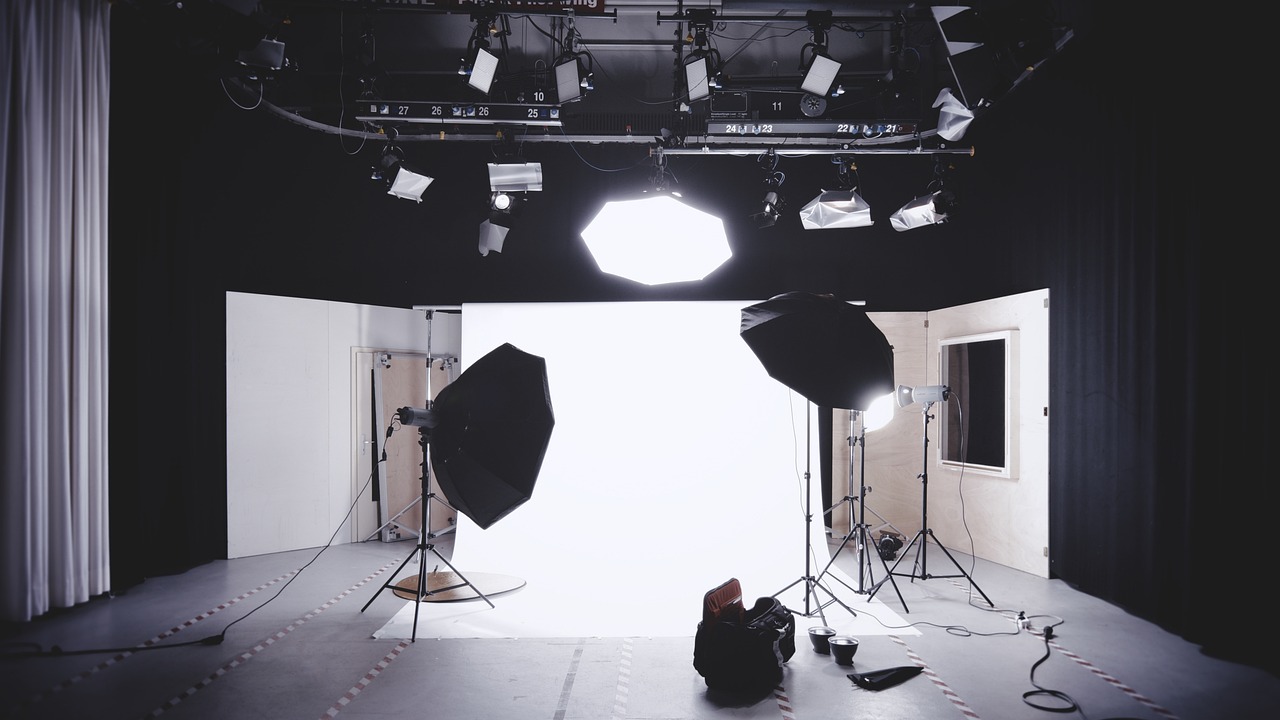
Ever wonder how just one light and a cool kicker light can totally level up those corporate headshots?
Let’s dive into how studio lighting works its magic, making those pics pop with a pro touch!
In this article, we’ll explore the importance of lighting in professional headshots and provide tips for capturing the perfect shot, whether you’re a photographer or an individual looking to improve your own photos.
The Role of Lighting in Professional Headshots
Lighting is the key to headshot greatness! 🌟 Dive into lighting setups, embrace multiple lights, and add a dash of drama with the magic of rim light.
Elevate your portrait photography game with these essential lighting tricks!
Here’s how lighting impacts professional headshots:
Highlighting facial features: Good lighting helps emphasize the subject’s facial features, giving them a more flattering and professional appearance.
Creating depth and dimension: Proper lighting can create depth and dimension, making the subject appear more three-dimensional and dynamic.
Setting the mood: Different lighting techniques can evoke various emotions and create specific moods, which can be essential for capturing business headshots or headshots for entrepreneurs and freelancers.
Tips for Capturing the Perfect Shot with the Right Lighting
1. Understand the Basics of Lighting Techniques
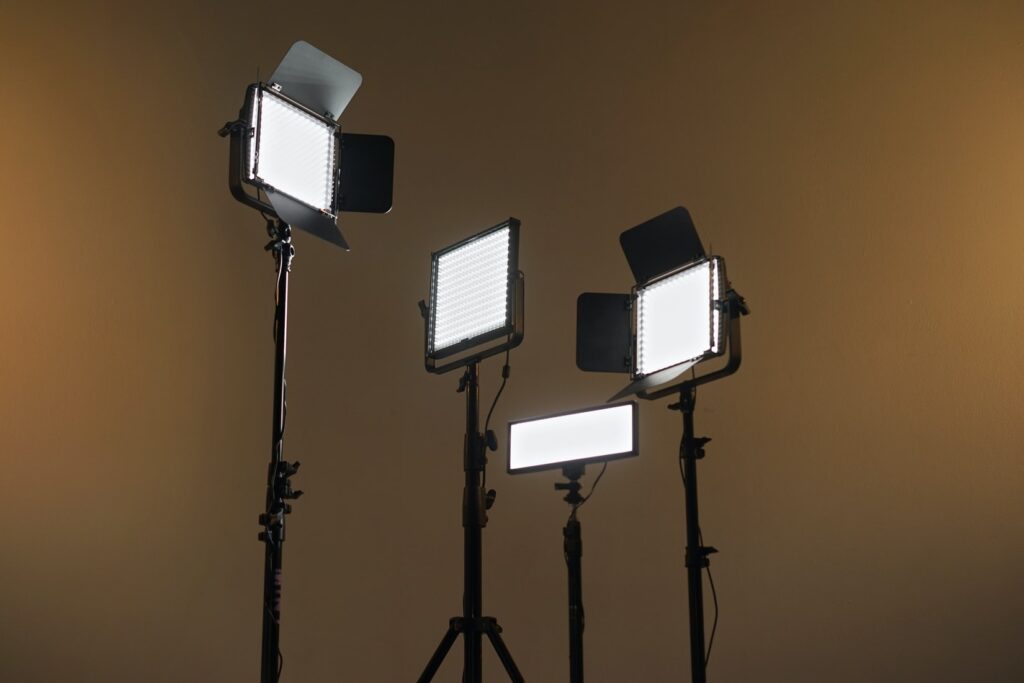
Before diving into the world of professional headshots, it’s crucial to understand the basics of lighting techniques.
Familiarize yourself with different types of light sources, such as natural light, continuous light, and flash.
Learn about lighting patterns like butterfly, Rembrandt, and loop lighting, and how they can be used to create different effects.
2. Choose the Right Light Source
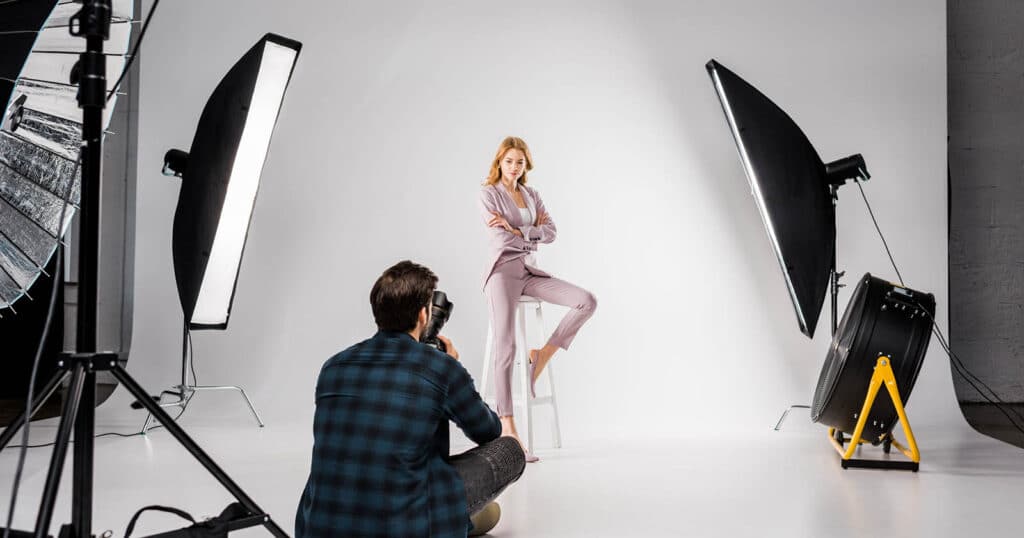
When it comes to AI headshots, selecting the right light source is critical.
Natural light is often the most flattering and easiest to work with, but if you’re shooting indoors, consider using a combination of continuous lighting and flash for a more controlled environment.
3. Experiment with Lighting Angles
Experimenting with different lighting angles can help you create various effects and find the most flattering look for your subject.
Be mindful of how the light falls on your subject’s face and adjust the angle to minimize shadows and highlight their best features.
4. Use Soft, Diffused Light for a Flattering Look
Soft, diffused light is ideal for professional headshots, as it creates a more even and flattering look.
Use a softbox, umbrella, or diffuser to soften the light and reduce harsh shadows.
5. Pay Attention to the Background
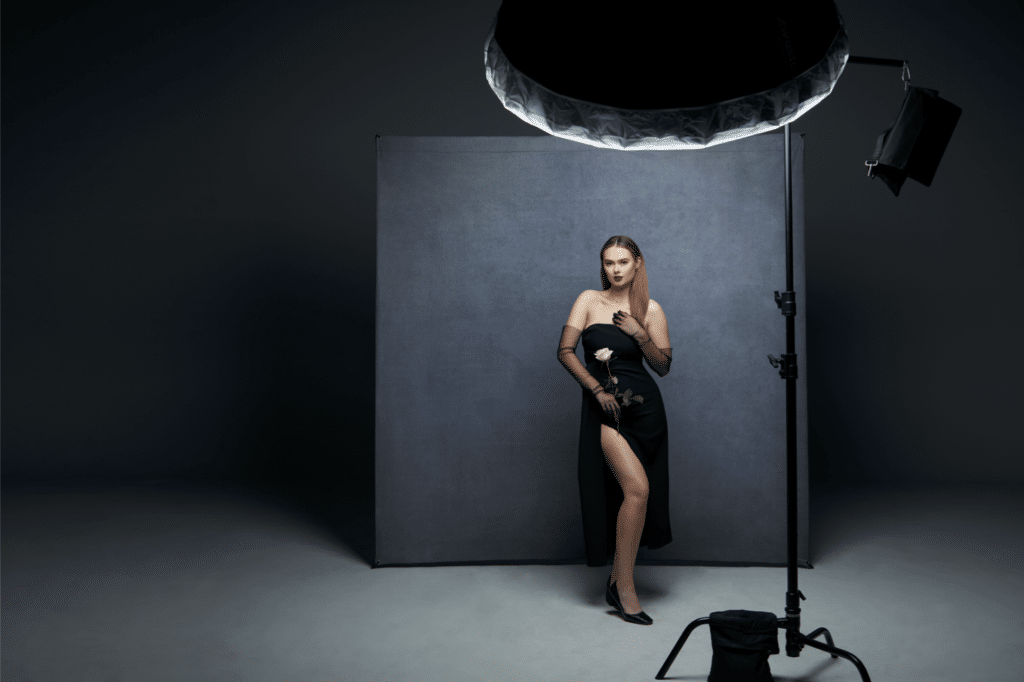
Ensure that the background is well-lit and doesn’t distract from the subject.
A clean, neutral background with subtle lighting can help your subject stand out and make your headshot look more professional.
6. Learn from the Pros
Study the work of professional headshot photographers to gain inspiration and learn from their techniques.
Pay close attention to their use of lighting and how it impacts the overall look and feel of their images.
If you happen to be from San Diego, you can take a look at these San Diego’s Best Professional Headshot Studios on how they make use of lighting in their headshots.
Frequently Asked Questions
What lighting is best for headshots?
The best lighting for headshots is soft, diffused light that evenly illuminates the subject’s face without creating harsh shadows.
Natural light, especially on an overcast day or in the shade, can provide this type of lighting.
Alternatively, using studio lights with softboxes, umbrellas, or diffusers can also achieve a similar effect.
How do you take a professional headshot with light?
Choose the right light source: Use natural light or studio lights with softboxes, umbrellas, or diffusers to create a soft, flattering look.
Set up the light at a flattering angle: Position the main light source at a 45-degree angle from the subject’s face to create depth and dimension. Adjust the angle to minimize shadows and highlight their best features.
Use a fill light or reflector: To balance the shadows and further soften the light, use a fill light or reflector on the opposite side of the main light source.
Pay attention to the background: Ensure the background is well-lit and doesn’t distract from the subject. A clean, neutral background with subtle lighting can help your subject stand out.
Experiment and adjust: Take several test shots and adjust the lighting setup as needed to achieve the desired look.
What is standard headshot lighting?
Standard headshot lighting typically involves a three-point lighting setup, consisting of a main light, a fill light, and a backlight.
The main light (also known as the key light) is placed at a 45-degree angle from the subject’s face, the fill light is placed on the opposite side to balance the shadows, and the backlight is placed behind the subject to separate them from the background and add depth to the image.
What is the simple light setup for headshots?
A simple light setup for headshots can involve using just one main light source and a reflector.
Place the main light at a 45-degree angle from the subject’s face, and position the reflector on the opposite side to bounce light back onto the subject and soften the shadows.
This setup is ideal for those with limited equipment or who prefer a more straightforward approach.
Get your AI headshots in minutes, it's quick and easy.
See for yourself how our AI technology can transform your casual photos into professional headshots that are perfect for LinkedIn, resumes, and other professional materials.
